Homeowner’s Guide to Reverse Osmosis Maintenance
Learn how to maintain your reverse osmosis system, fix common leaks, replace filters, and know exactly when it’s time to call a professional plumber.
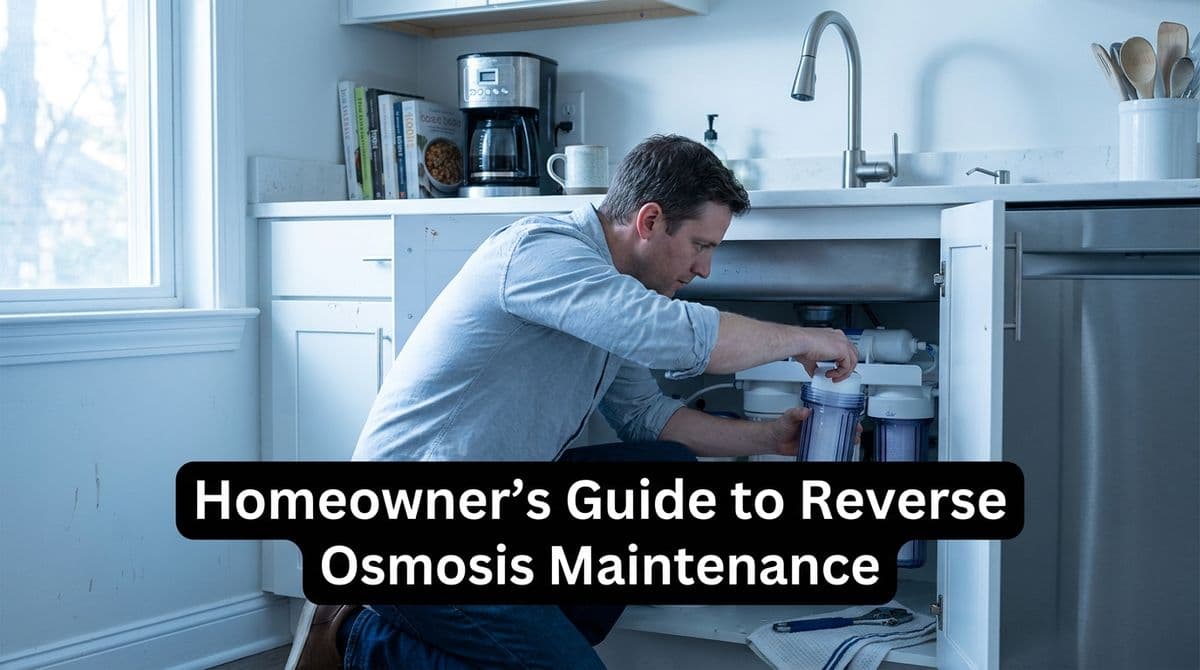
When a “Small” RO Leak Turns Into a Big Headache
We recently got a call from a customer — let’s call her Linda — who had been trying to reach us through a marketplace app. The messages weren’t going through, so she finally just looked us up online and called the office directly.
Linda told us she was looking for a “regular maintenance person” for plumbing odds and ends, but her most urgent issue was her reverse osmosis (RO) drinking water system. One of the sediment filter housings had sprung a leak. She’d already shut that part of the system off and narrowed it down: it wasn’t the tubing, it was the seal around the outlet on the sediment chamber that was dripping.
She had already ordered filters online (and was understandably nervous about the delivery dates getting pushed back), but she wanted to know: what can she safely do herself, what should she leave to a plumber, and how can she keep her system from leaking again?
We walked her through what to expect on our visit, and that conversation is exactly the kind of thing we go over with homeowners all the time. So we figured it would make a great homeowner’s guide to reverse osmosis maintenance.
How Reverse Osmosis Systems Typically Fail
Most under-sink RO systems are pretty simple: you’ve got pre-filters (often sediment and carbon), the RO membrane, a post-filter, storage tank, and a few shutoff valves and lines tying it all together. When something goes wrong, it usually falls into one of a few categories:
- Leaks at the filter housings (like Linda’s sediment chamber)
- Leaking or seeping at tubing connections and fittings
- Reduced water flow at the RO faucet
- Strange taste or odor in the water
- System running constantly and wasting water
In Linda’s case, the leak at the seal around the outlet told us the problem was likely one of three things: a worn or damaged O-ring, debris on the sealing surface, or an old housing that had finally warped or cracked.
Fixing RO Leaks: What You Can Check Yourself
If your RO system starts to leak, the first step is always safety:
- Turn off the feed water to the RO system.
- Turn off the tank valve so you’re not draining stored water everywhere.
- Place a towel or tray under the system before you start inspecting.
Once things are shut off, here’s what we usually recommend homeowners look at before we arrive:
- Check the housing O-rings: Carefully unscrew the filter housing (use the housing wrench if one came with your system). Inspect the O-ring for cracks, flat spots, or stretching. If it looks questionable, it’s time to replace it.
- Clean the sealing surfaces: Wipe the groove where the O-ring sits and the top of the housing with a clean cloth. A little grit or debris can keep the seal from seating properly.
- Inspect for hairline cracks: Shine a flashlight around the housing and outlet area. Tiny cracks will often show as a very fine line or “weeping” water pattern.
- Verify tubing is fully inserted: On push-to-connect fittings, the tubing should be pushed in firmly until it seats. Gently tug to make sure it’s locked in.
Some homeowners are comfortable replacing a sediment housing themselves if it’s clearly cracked, but if the leak is at a molded outlet or you’re not 100% sure where the water is coming from, that’s when we recommend calling us in.
Replacing RO Filters: How Often and In What Order?
Like Linda, many people order RO filters online and then wonder if they got the right ones or if they’re safe to install themselves. In general, typical schedules look like this (always check your manufacturer’s instructions):
- Sediment filter: Every 6–12 months
- Carbon pre-filters: Every 6–12 months
- RO membrane: Every 2–3 years (sometimes longer with good pre-filtration)
- Post-filter (polishing filter): Every 12 months
A few tips we shared with Linda that apply to most systems:
- Shut off water and depressurize by turning off the feed and tank valves, then opening the RO faucet to release pressure before you twist off any housings.
- Match filters by model, not just size: Filters that “fit” physically may not have the same micron rating or media quality. Always cross-check the exact model or specs.
- Lubricate O-rings with food-grade silicone grease when reinstalling housings. This helps prevent pinching and makes a better seal.
- Hand-tight plus a gentle snug with the housing wrench is usually enough. Over-tightening can warp housings or pinch O-rings and actually cause leaks.
After new filters are installed, run the system through a thorough flush (often several gallons) to clear out carbon fines and any manufacturing residue. Your manual will usually specify how long.
When It’s Time to Call a Plumber for RO Problems
We always encourage handy homeowners to do basic maintenance, but there are clear signs it’s time to bring us in. During our call with Linda, we talked through when professional service makes sense:
- Persistent leaks that come back after replacing O-rings or housings
- Water damage signs inside the cabinet (swollen wood, mold, soft flooring)
- Hard-to-reach shutoff valves or corroded plumbing connections
- The system is 10+ years old and parts are hard to find or match
- You’re upgrading appliances (dishwasher, fridge, etc.) and want the RO tied in properly
In Linda’s case, she also asked if we could help connect a future dishwasher and refrigerator when the time comes. That’s actually a perfect time for us to evaluate the RO system, make sure it’s installed correctly, check for any slow leaks, and ensure shutoff valves are in good working order.
Simple Habits to Keep Your RO System Leak-Free
To keep your RO running smoothly and avoid surprise leaks under the sink, we suggest homeowners:
- Look under the sink monthly for dampness, discoloration, or moldy smells.
- Write filter change dates directly on the housings with a marker.
- Replace filters on time instead of stretching them “one more year.”
- Use a small leak tray or sensor under the RO if you’ve had issues before.
- Schedule a professional checkup every few years, especially if you’re on well water or have very hard water.
If your RO system is leaking, you’re unsure about the right filters, or you just want someone you can call when it’s “time,” we’re happy to help. We service and install RO systems, connect dishwashers and refrigerators, and take care of the rest of your home’s plumbing so your water is clean, safe, and where it’s supposed to be — in the pipes, not under your sink.